 CourseGlade
 Installation
Install CourseGlade free and Pro, and understand what activation sets up.
Requirements
- WordPress 6.4 or later
- PHP 7.4 or later
- Any properly coded theme, including block themes
Install the free plugin
- In wp-admin, go to Plugins → Add New.
- Search for CourseGlade.
- Click Install Now, then Activate.
What activation sets up
On activation CourseGlade prepares everything you need:
- Database tables for enrollments, progress, orders, quiz attempts, coupons, earnings, and more
- Roles —
CourseGlade InstructorandCourseGlade Student— plus custom capabilities added to administrators and editors - Default settings — currency USD, default commission 70%, minimum withdrawal $50, earnings maturity 7 days, 12 courses per page
- Difficulty terms — Beginner, Intermediate, Advanced, All Levels
- Pages — created and assigned automatically (below)
Your WordPress default registration role is left untouched — plain subscribers are promoted to the student role only when they first enroll.
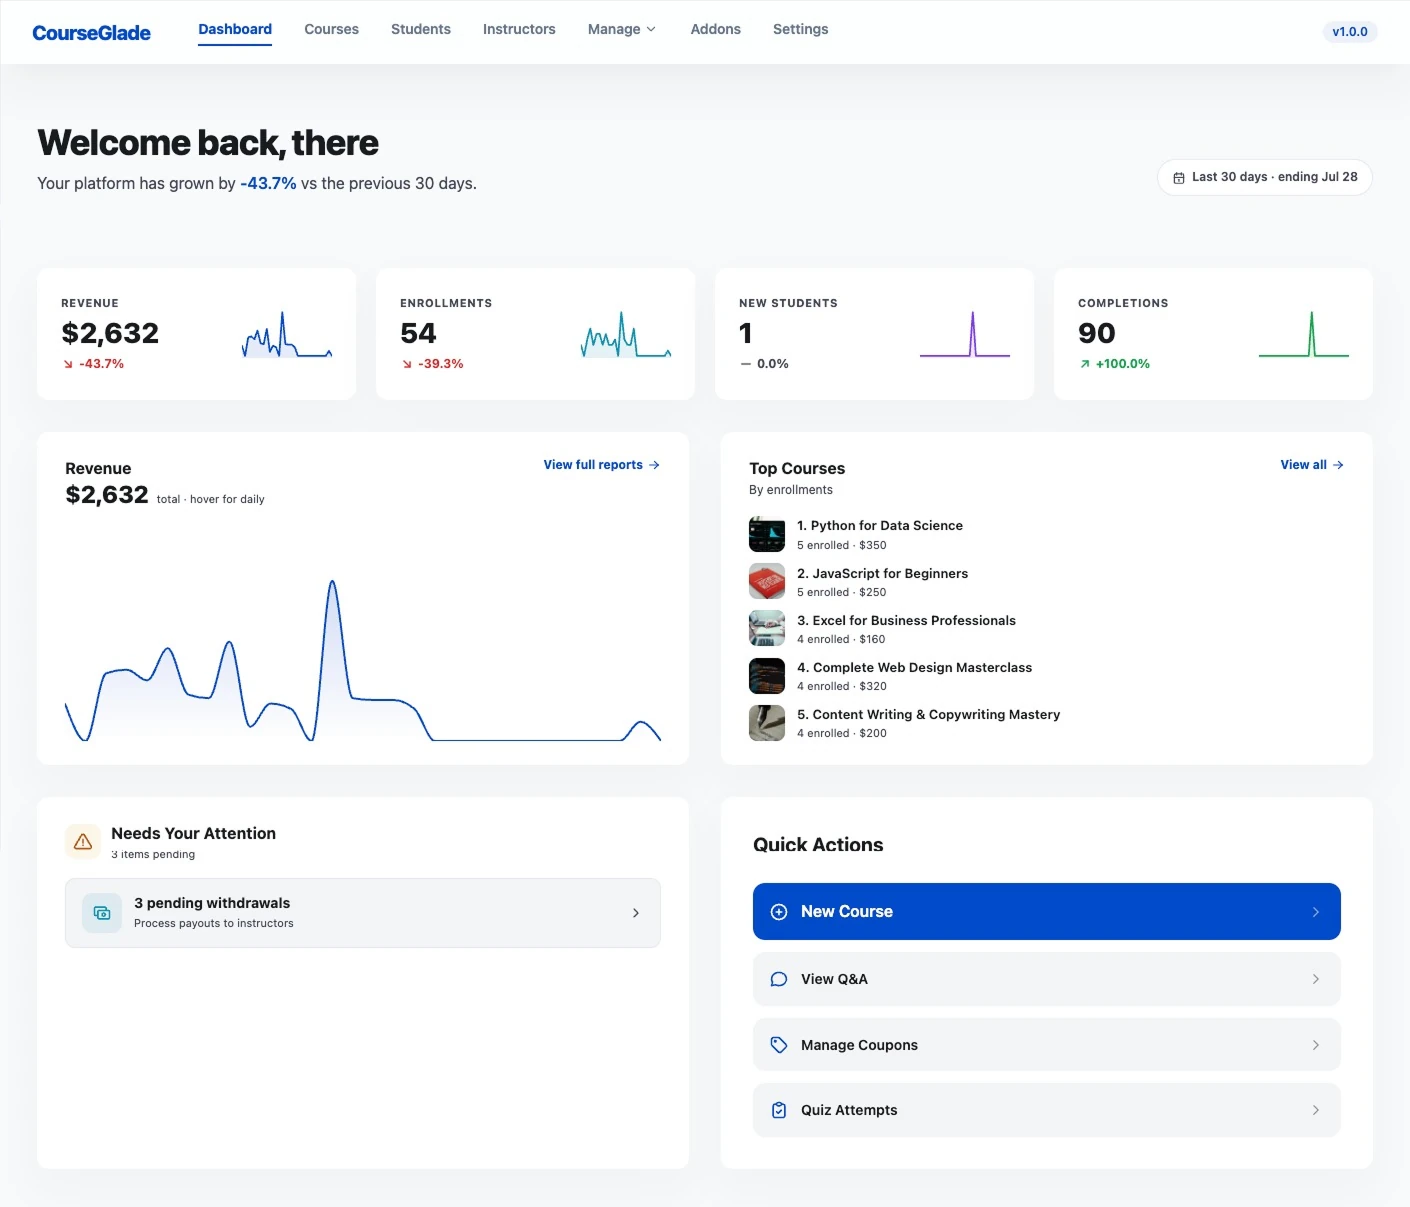
Pages created on install
Each page is created with the matching shortcode and remembered by setting (not slug), so renaming or moving is safe:
| Page | Shortcode |
|---|---|
| Courses | [courseglade_courses] |
| Dashboard | [courseglade_dashboard] |
| Course Checkout | [courseglade_checkout] |
| Become an Instructor | [courseglade_become_instructor] |
| Student Registration | [courseglade_auth tab="register"] |
| Login | [courseglade_auth tab="login"] |
| Forgot Password | [courseglade_forgot_password] |
| Reset Password | [courseglade_reset_password] |
If a valid page already exists, it’s kept rather than duplicated. Page assignments live in Settings → General → Pages.
Install Pro
Pro is an addon layer that requires the free plugin to be active.
- Download
courseglade-lms-pro.zipfrom your purchase receipt. - Go to Plugins → Add New → Upload Plugin, choose the zip, and install.
- Activate. If the free plugin is missing, Pro deactivates itself with a notice — install free first.
Activate your license
With Pro active, a License tab appears in the CourseGlade top nav, after Settings. It’s admin-only — instructors never see it — and it’s absent entirely on the free plugin.
Activating unlocks plugin updates and premium support; the Pro addons themselves run without it.
- Go to CourseGlade → License.
- Enter your License code (in the form
xxxxxxxx-xxxxxxxx-xxxxxxxx-xxxxxxxx, from your purchase receipt). - Optionally set the Email address — product update news goes there.
- Click Activate.
Once active the page shows a Valid badge plus your License type, Expires on and Support until dates (each with a Renew link when applicable), and your license key masked. A Deactivate license button releases the seat so you can move the license to another site.
If the tab shows “Could not load license status”, the Pro plugin isn’t active — the license endpoints live in Pro.
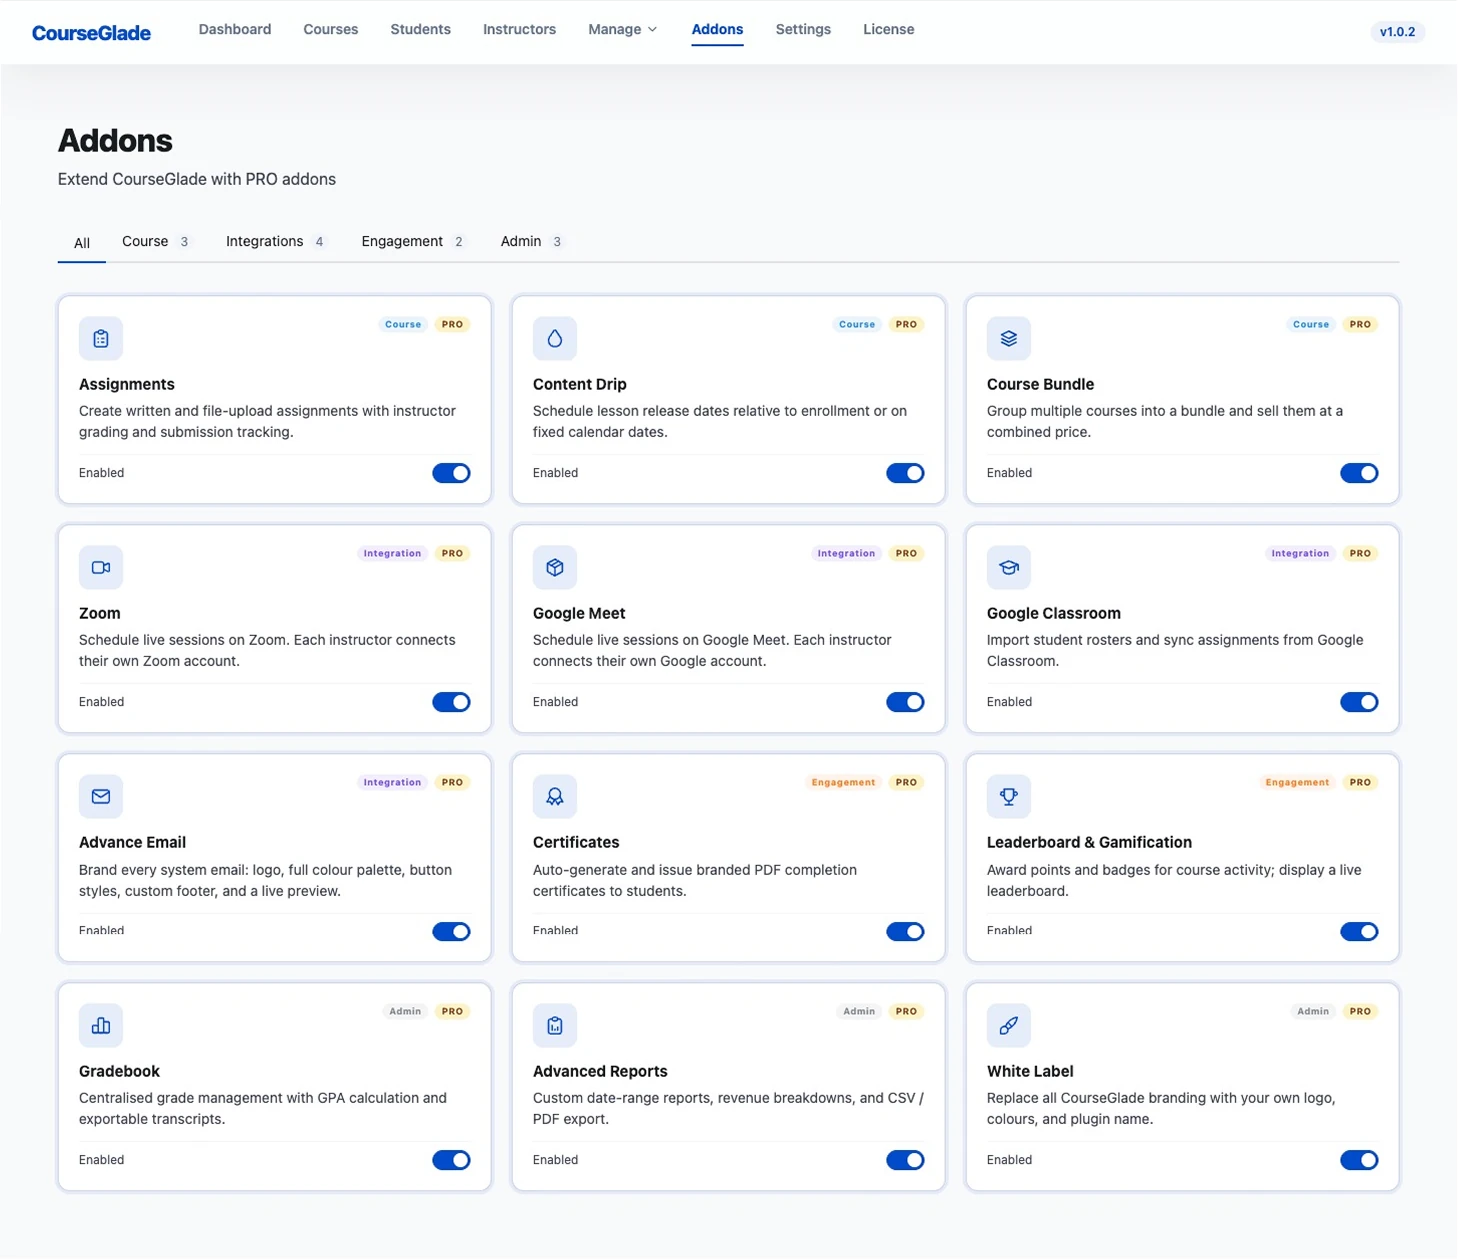
Turn on the addons you need
Go to CourseGlade → Addons. Every Pro addon has its own toggle. Only enabled addons load code, so keep unused ones off.